

Launch Quick Start Guide with Generic CSR
The fastest way to get started with Launch is to clone and deploy a sample Stencil Starter project as an example for Generic CSR framework. With Launch, you can easily create a project by importing your website code from GitHub.
Prerequisites
- Contentstack account
- Launch-enabled Organization with Owner or Admin permissions
- GitHub account
What You Will Learn
How to import a GitHub repository into Launch.
How to select the CSR framework preset and configure build and output settings.
How to add the environment variables the Stencil Starter requires.
How to deploy the project and preview the live site.
Steps for Execution
Follow the steps given below to deploy your first Launch project using GitHub:
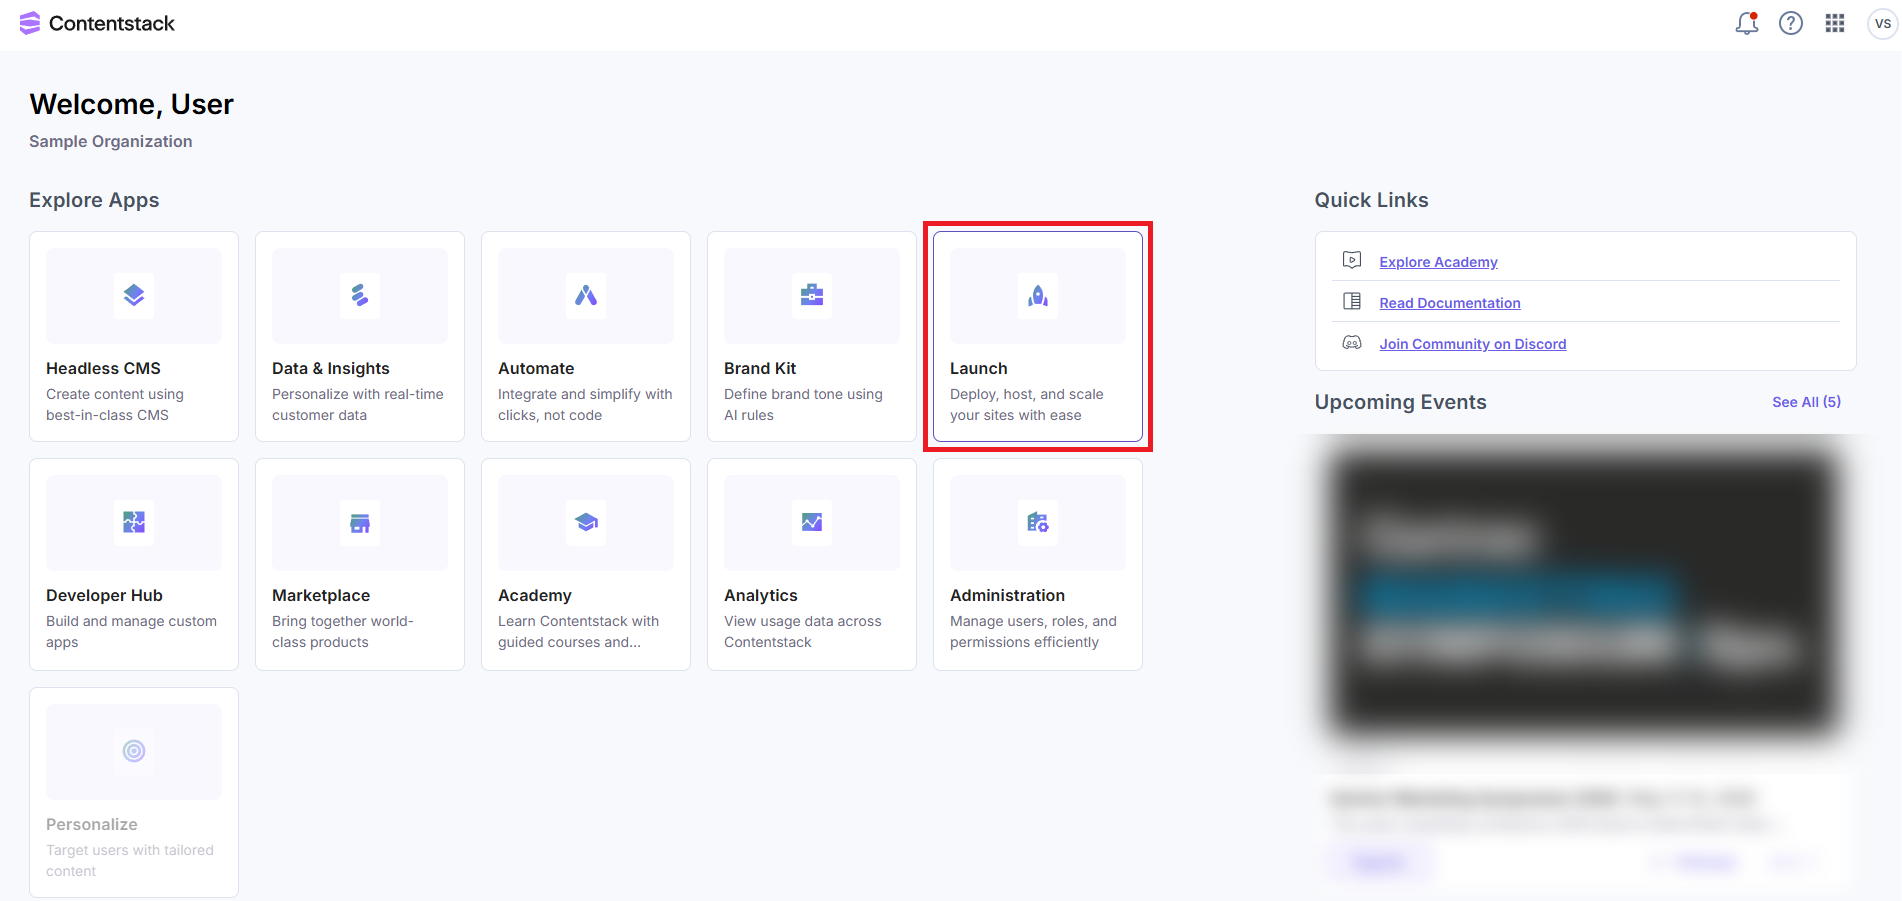
- Log in to Contentstack and click the Launch icon from the dashboard, as shown below:
Alternatively, go to the App Switcher in the top panel and click the Launch icon.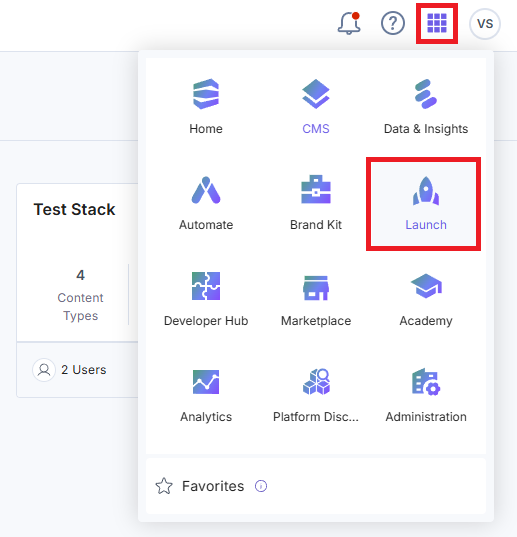
- On the Launch Projects screen, click the + New Project button to initiate the project creation process.

- From the Create New Project modal, click Import from a Git Repository.
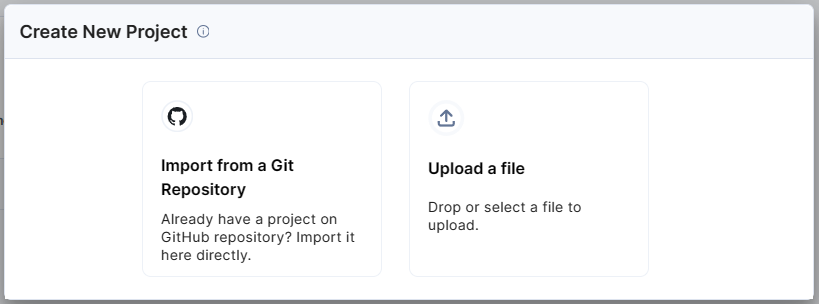
Note: You can also choose to upload a .zip file to import a project.
- Click GitHub.
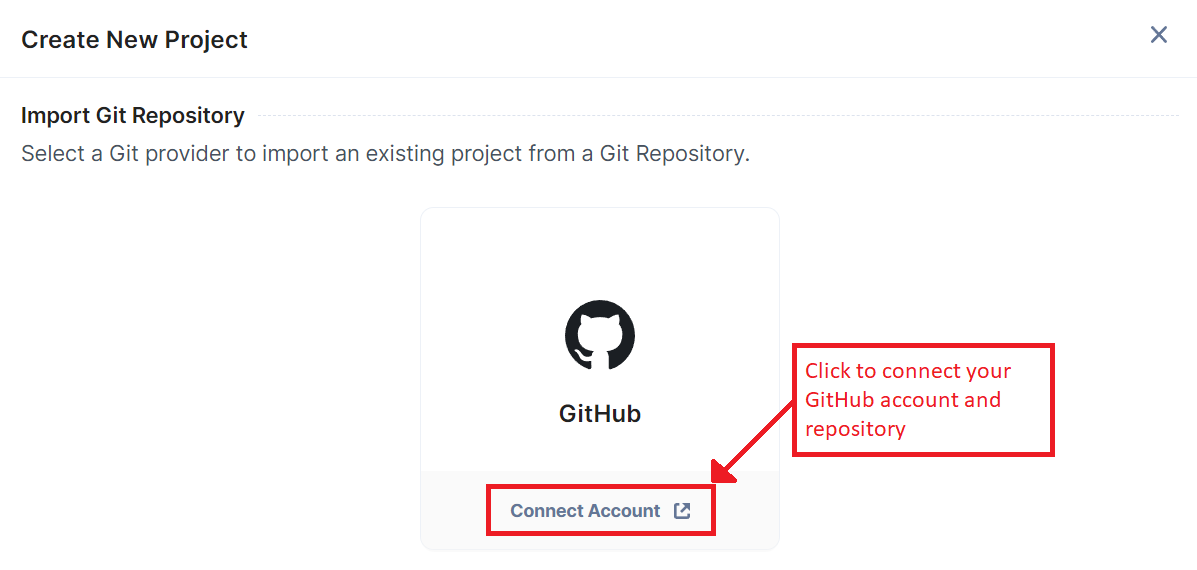
Additional Resource: You can also import a project using Bitbucket Cloud. Follow the steps in the Create a Project Using Bitbucket Cloud guide to proceed.
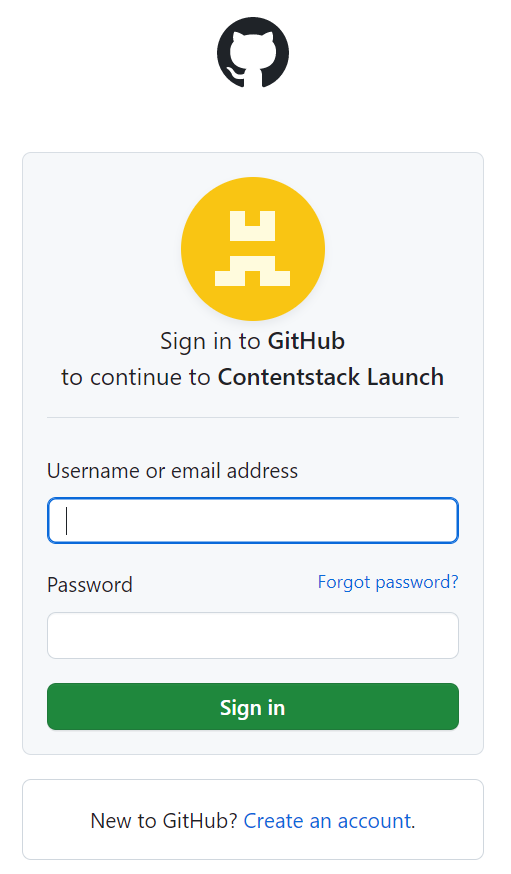
A Sign in to GitHub screen pops up. Enter your credentials and log in to your GitHub account.
Note: We have assumed that you have a GitHub account and your website code stored in the repository.
- Enter your credentials and log in.
- In the Repository access section, select All repositories.
Note: If you want to choose specific repositories, select the Only select repositories option and choose the required repository.
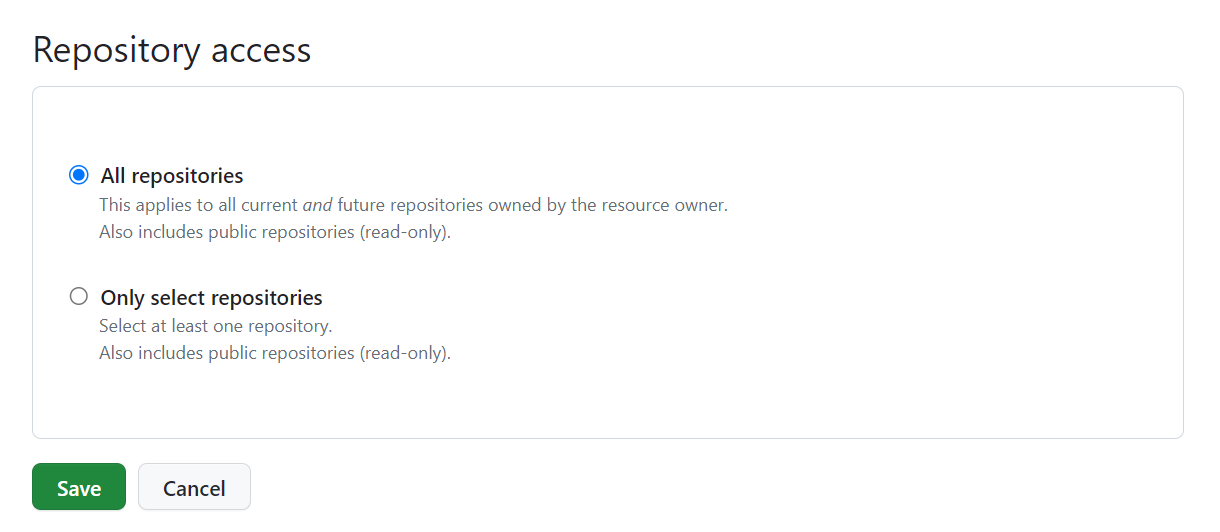
- Click the Save button.
Note: If you are accessing GitHub through Contentstack for the first time, you must authorize Contentstack by clicking the Install & Authorize button after selecting All repositories.
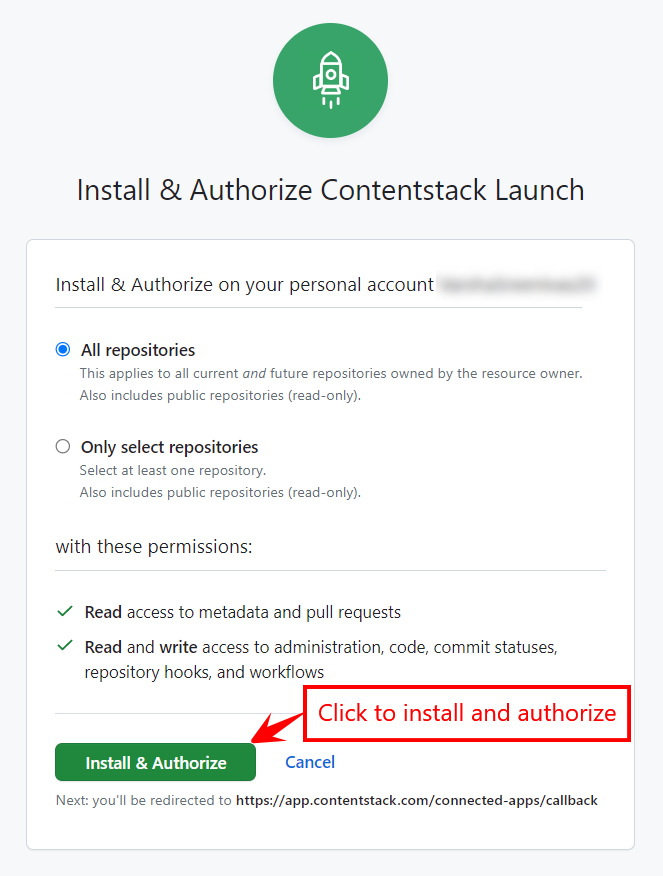
You will be redirected to the Launch app.
In the Create New Project modal, add the following details:
- Repository (Mandatory): Select the Git repository. In our example, we have selected the Stencil Starter App repository.
- Git Branch (Mandatory): By default, master or main is selected as the branch. You can choose another branch from the dropdown.
- Project Name (Mandatory): Gets auto-populated on selecting the repository. You can edit it as per your requirement.
- Environment Name (Mandatory): Enter the name of the environment.
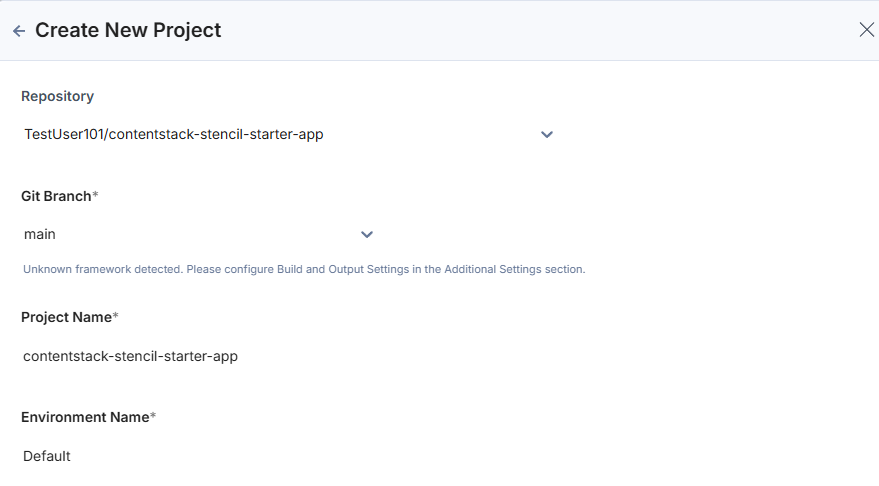
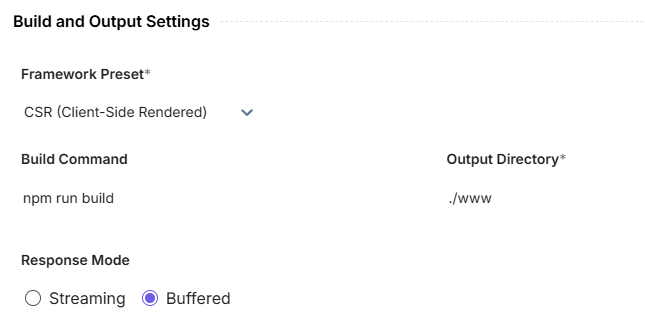
- Build and Output Settings (Mandatory):
- Framework Preset: Select CSR (Client-Side Rendered) as the framework.
- Build Command: Enter npm run build as the Build Command.
- Output Directory: Enter an Output Directory path. For example, ./www.
Select a response mode:
- Streaming: Delivers response chunks in real time as they are generated.
- Buffered: Displays output only after the entire response has been generated.
Note: Buffered is selected by default.
- Environment Variables (Optional):
- Enter the key and value of one or more environment variables.
- You can also add the key-value pairs in bulk in the Bulk Edit section.
For the Contentstack Stencil Starter to work, we need to provide the following environment variables:
CONTENTSTACK_LIVE_PREVIEW=<true_or_false>
CONTENTSTACK_MANAGEMENT_TOKEN=<mgmt_token>
CONTENTSTACK_DELIVERY_TOKEN=<delivery_token_of_the_environment>
CONTENTSTACK_API_HOST=<api_host_value>
CONTENTSTACK_REGION=<region>
CONTENTSTACK_APP_HOST=<app_host_value>
CONTENTSTACK_API_KEY=<api_key_of_your_stack>
CONTENTSTACK_ENVIRONMENT=<environment_name>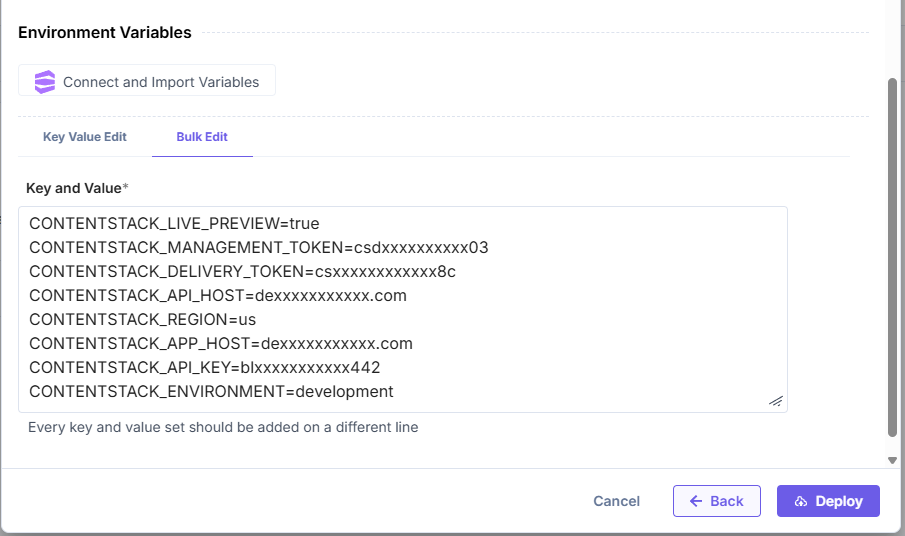
Note: Click Back to revert the changes and re-enter details.
- Once ready, click Deploy to save and deploy the project.
As soon as the deployment starts, you will see the Deploying status as shown in the following screenshot:
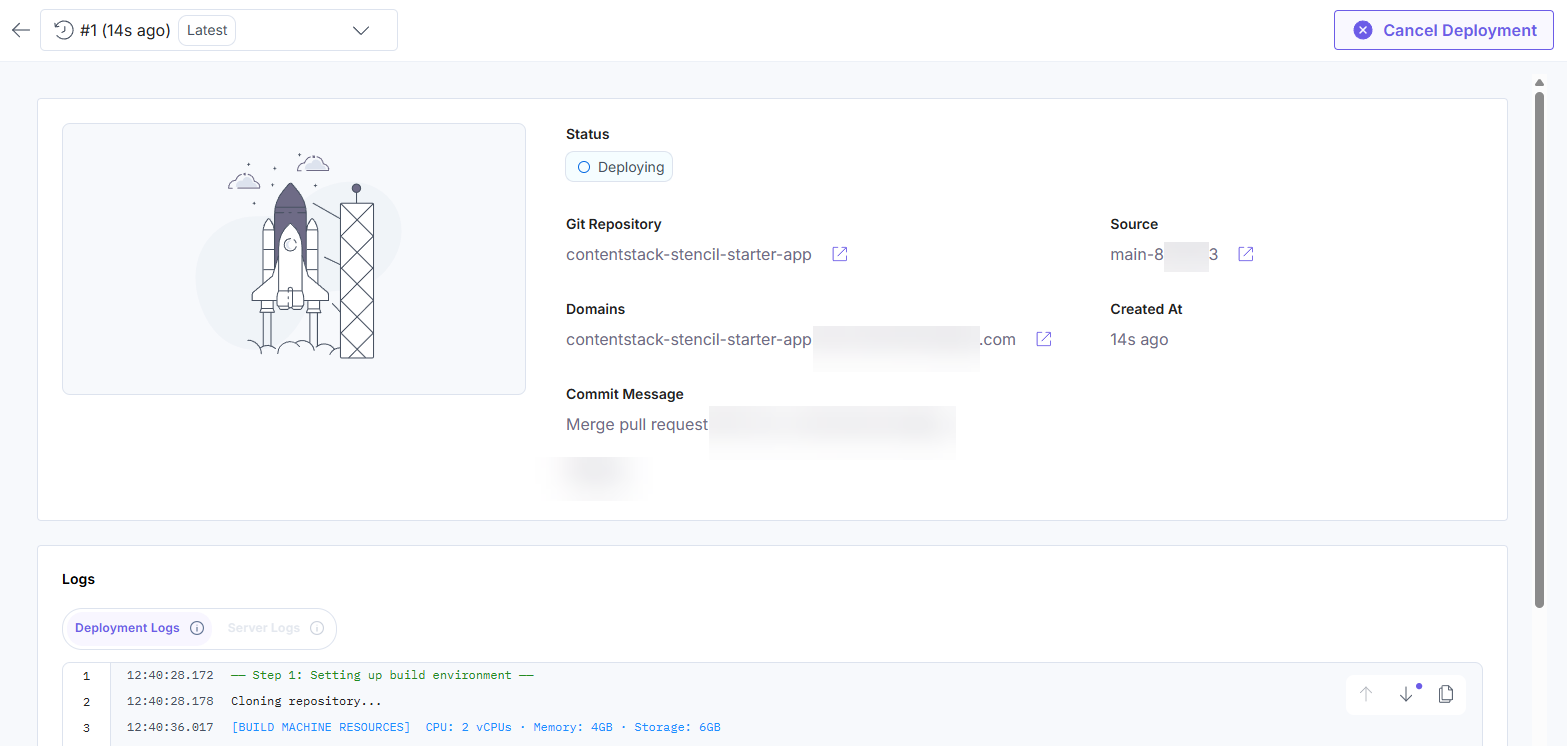
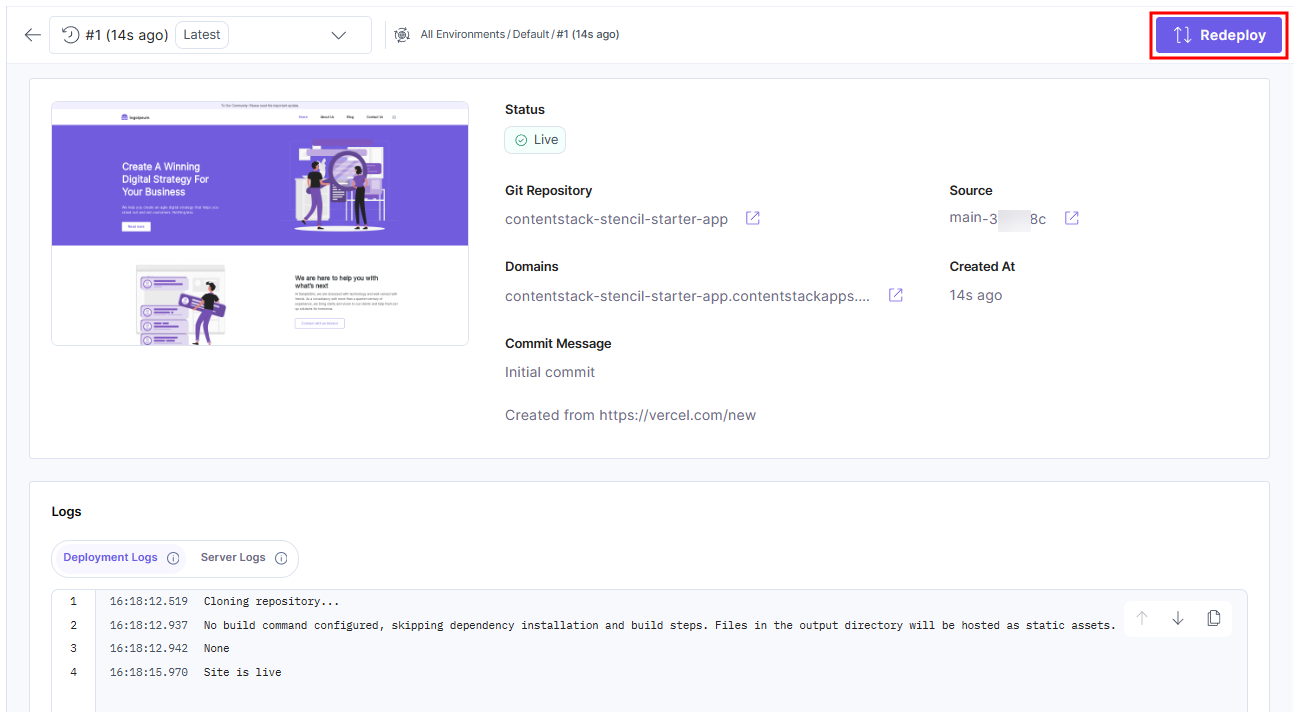
Upon successful deployment, you will see the following screen. You can preview the deployed website by clicking the icon next to the URL in the Domains section:
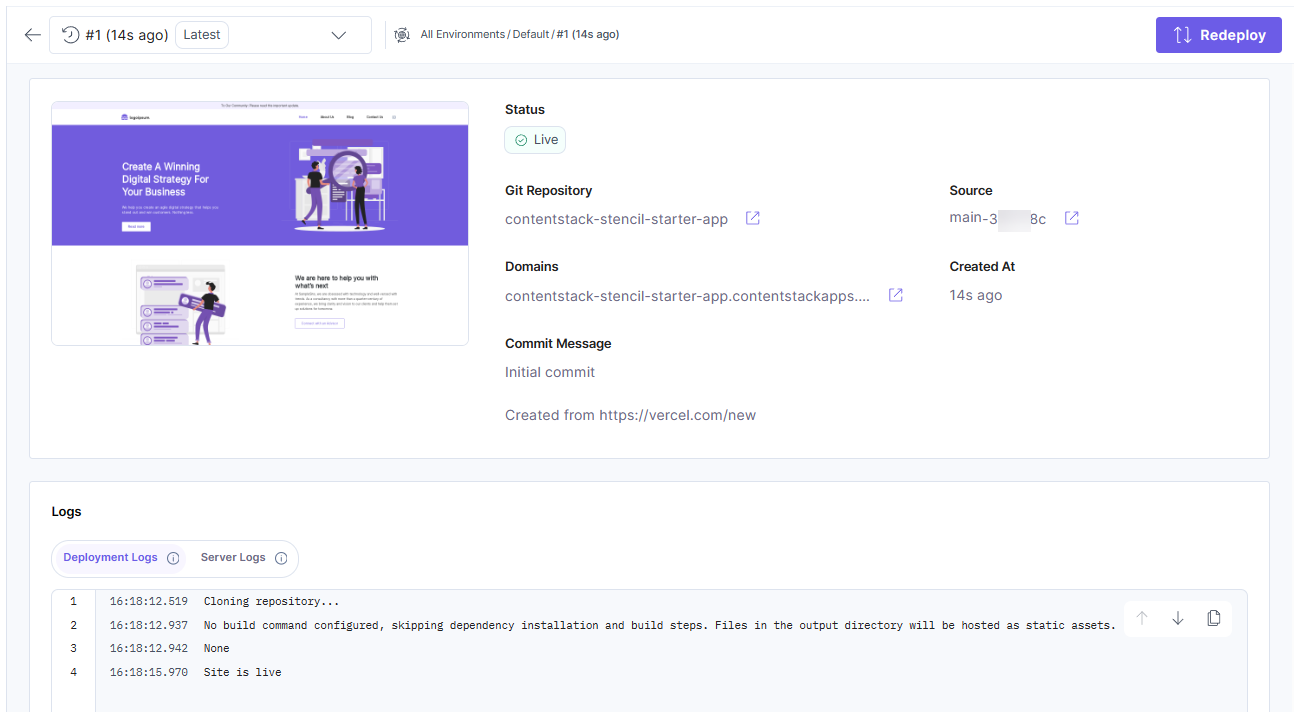
If you want to deploy the changes from any other commits, you can click the Redeploy button and choose the required commit.
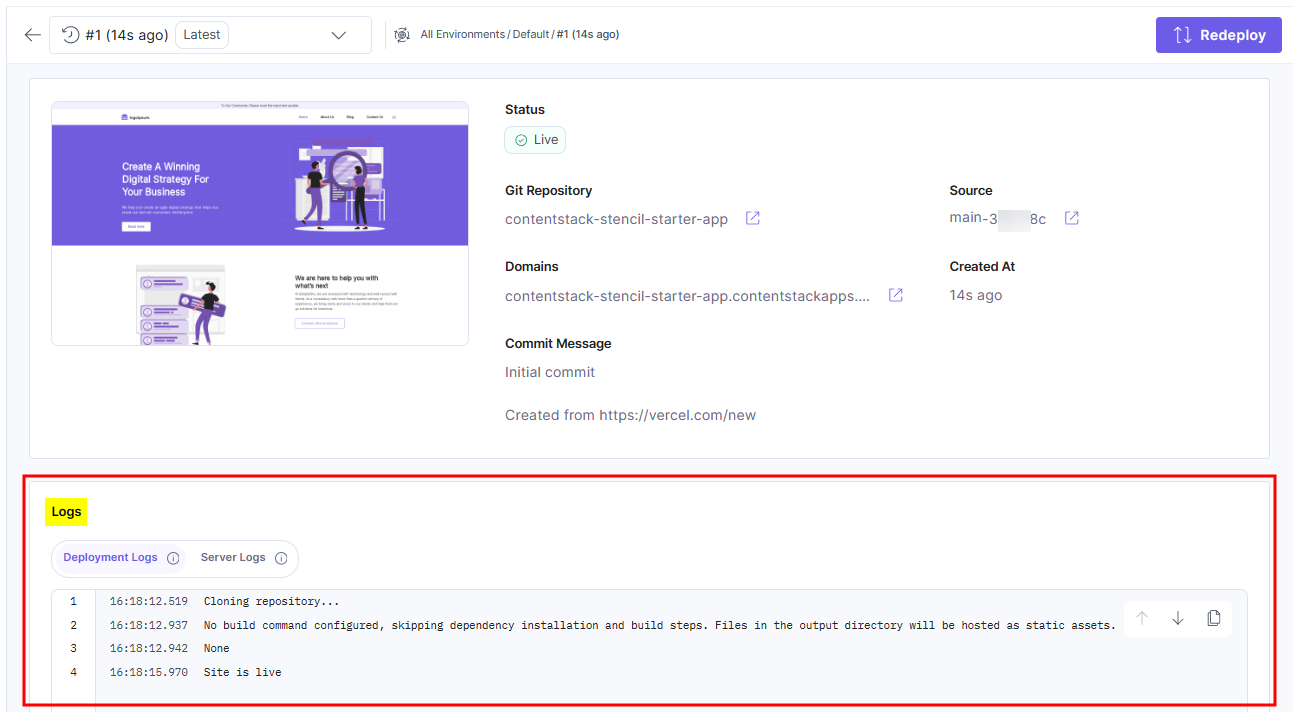
Note: The log details of the current deployment can be found under the Logs section.
More articles in "Launch Overview"
