

Create an Audience
Creating custom Audiences in Contentstack Personalize empowers you to target specific user segments with tailored content and experiences based on various attributes and behaviors.
Prerequisites
- Contentstack account
- Personalize-enabled Organization with permissions
Note: Users with Owner and Member access to a Personalize project can create new audiences.
- Access to Personalize project
Note: We assumed that you have already created a Personalize project. If not, follow this guide to create a project in Personalize.
- Custom attributes created in the project, if you want to assign custom attributes to your audience
Note: To preview audience-specific content in real time or manage variants visually, make sure Live Preview and Visual Builder are enabled and set up on your stack.
What You Will Learn
-
How to start a new audience in a Personalize project.
-
How to set an audience Name and Description.
-
How to define audience Rules and Groups using preset and custom attributes.
Steps for Execution
To create an audience, log in to your Contentstack account and perform the following steps:
- In the top navigation bar, click the App Switcher icon and then click Personalize.
- You will be redirected to the Personalize Projects landing page. Click the project for which you want to create an audience.
- Click the Audiences tab. On the Audiences page, click the + New Audience button to create a new audience.
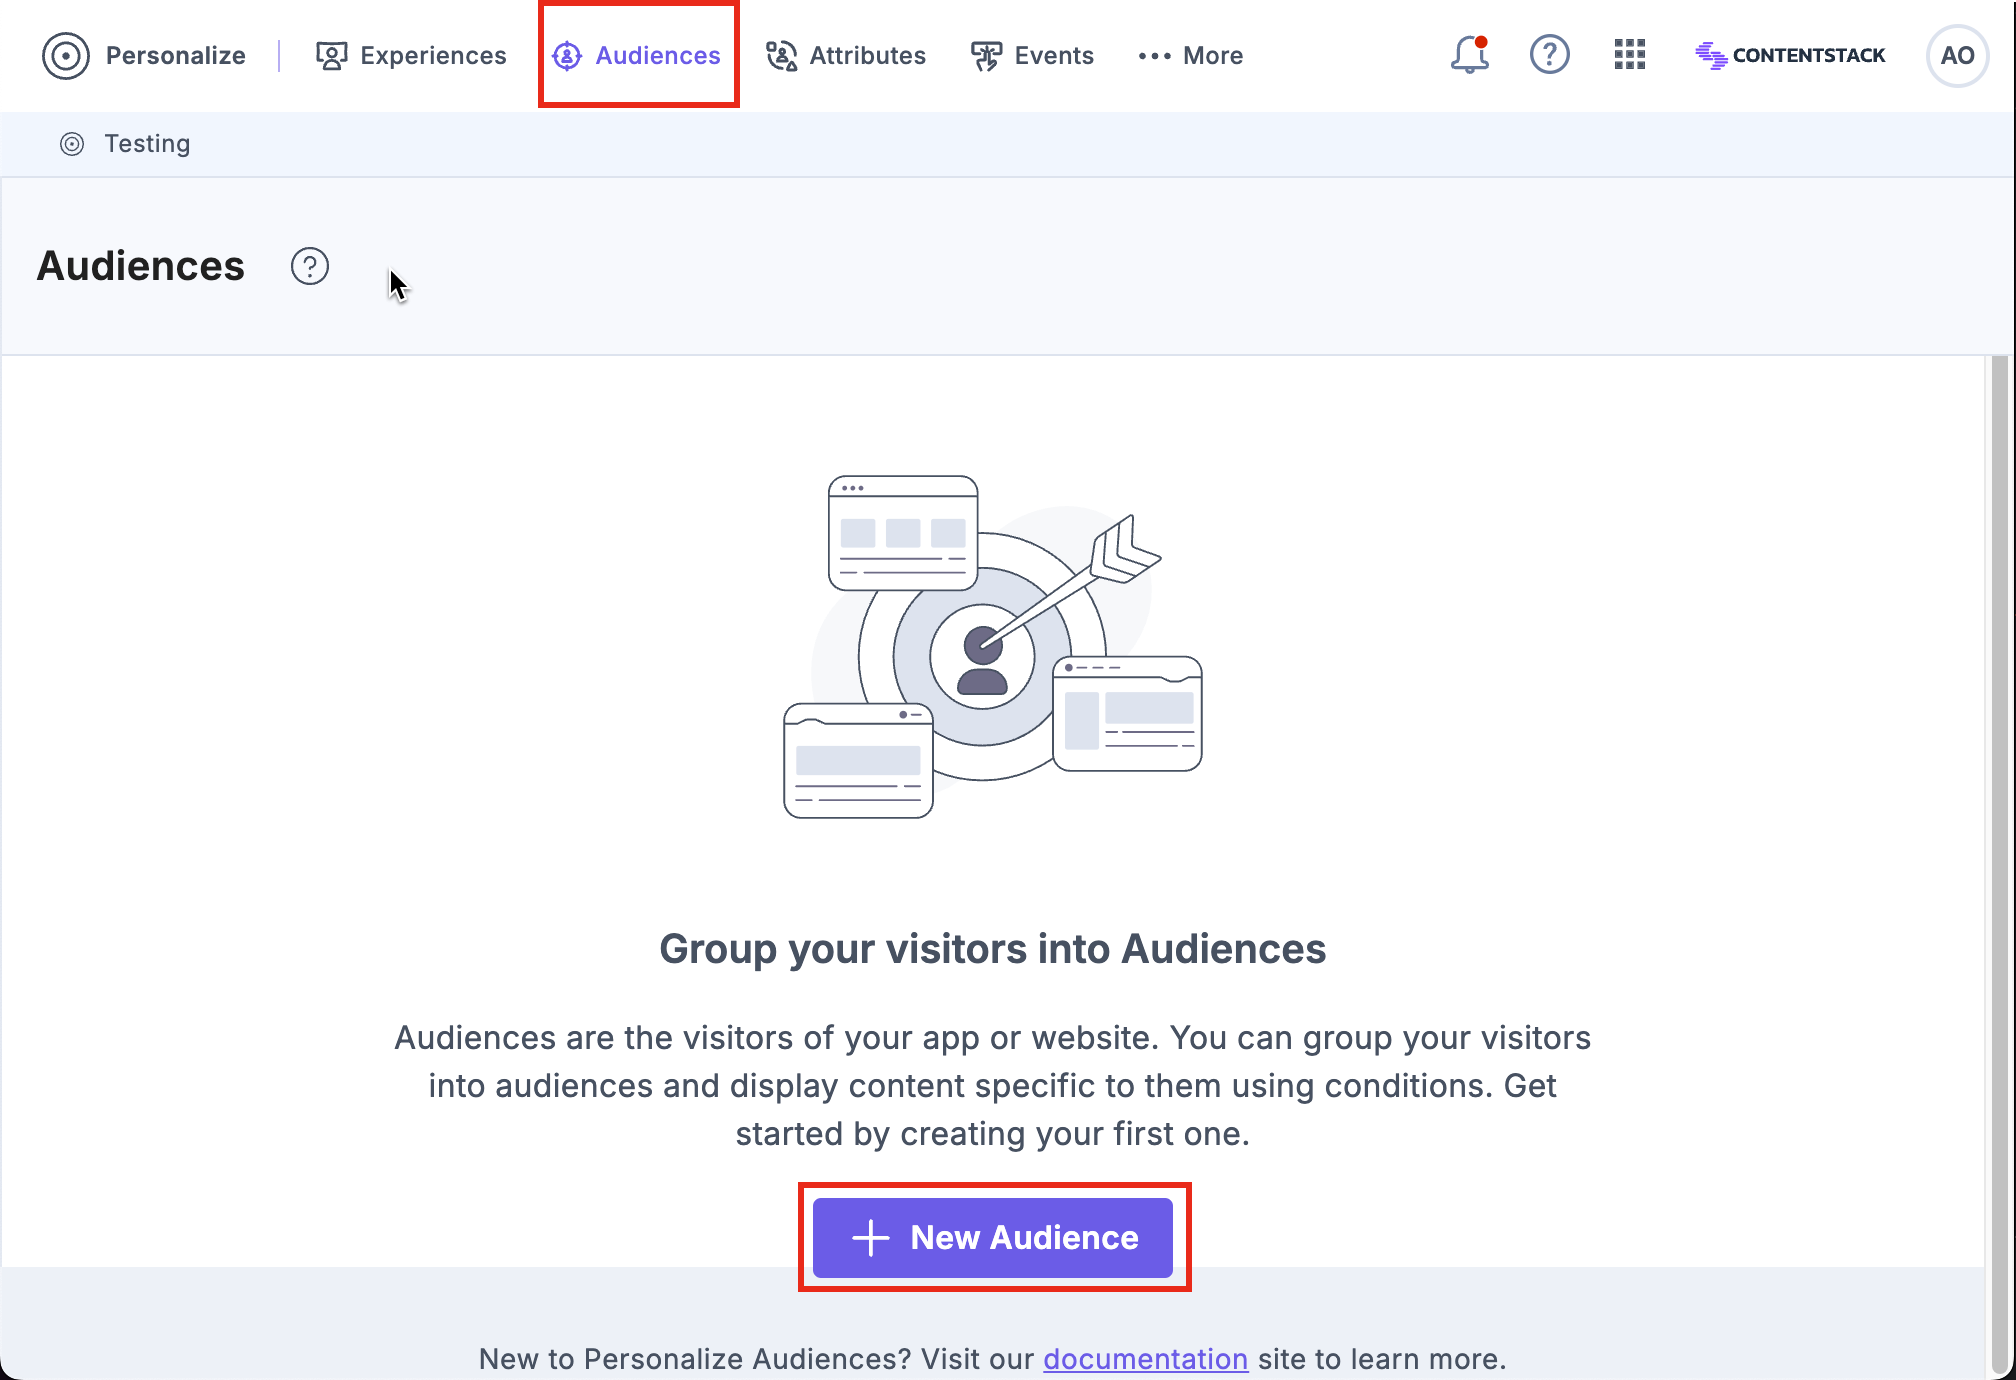
- On the New Audience page,
- Name: Provide a meaningful name for the audience.
- Description: (Optional) Add a brief explanation of the audience's purpose.
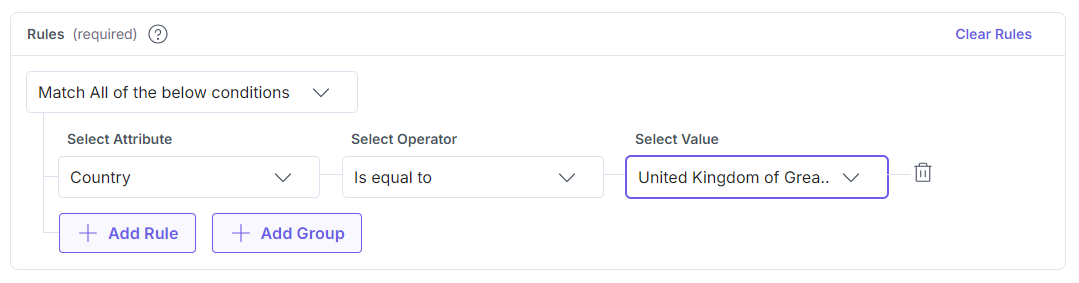
- Rules: Rules are criteria that define how visitors (audience) are grouped and targeted for tailored experiences based on their characteristics and behaviors. In this section, you need to provide a combination of preset or custom attributes to define your audience as follows:
- Under the Match {All/Any} of the below conditions section, you can set the below condition to satisfy either All or Any of the rules.
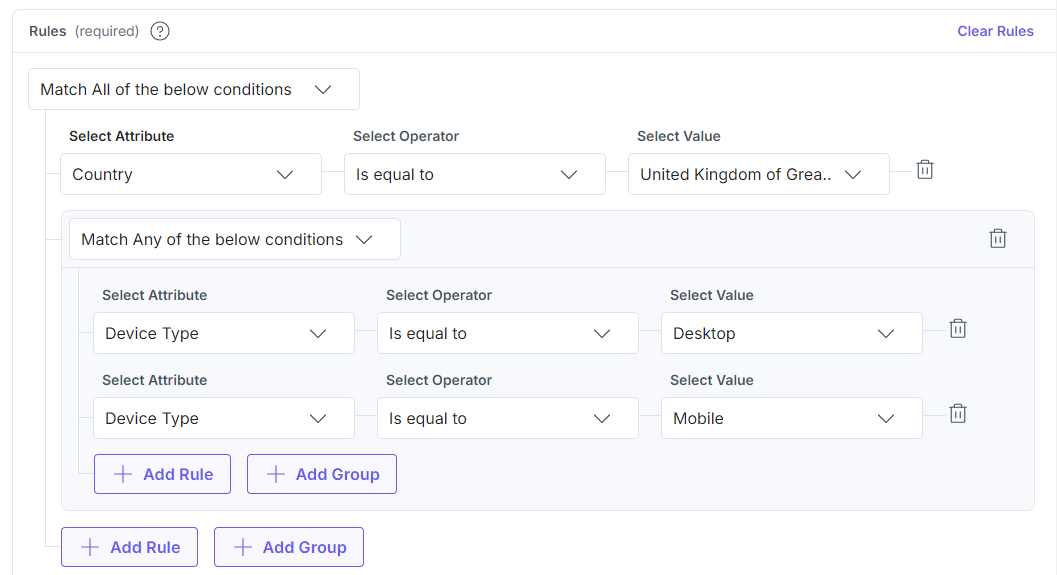
- Click the + Add Group button to group rules together to create more complex rules, then click the + Add Rule button within the new group.
Similar, add multiple rules within a group to build complex scenarios by clicking the + Add Rule button.
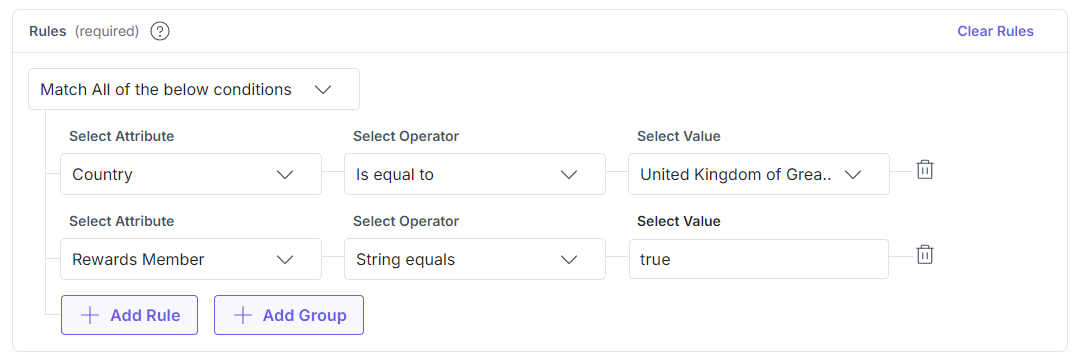
- Create a rule by clicking the Select Attribute drop-down and select either a preset attribute or a custom one. Click Select Operator to select an attribute-specific operator and then select a matching criteria for the condition by clicking the Select Value drop-down.
Similarly to add multiple rules, click the + Add Rule button.
Note: By default, you can add upto 50 rules in each Audience. To increase this limit, please contact our support team.
- Under the Match {All/Any} of the below conditions section, you can set the below condition to satisfy either All or Any of the rules.
- Once you have defined your audience, click the Save button. This creates a new audience in your Personalize project.

Note:
- Users with Owner and Member access to a Personalize project can create new audiences, and edit/delete existing audiences.
- The default number of Audiences allowed per project is 100.
Next Steps
You can now add the audience to a Segmented experience into Variants or to an A/B Test experience as a Target Group for granular targeting of your personalized content.
Related Resources
More articles in "Working with Audiences"
